


Anyone for some tissue paper pompoms?
Recently I published a letter to my blog to celebrate it's third birthday, how exciting hey! The photo accompanying that said post included a big, colourful '3' that I had made from scratch for the special occasion and because I enjoyed making it so much, I thought I would share how I created it!

Honestly, they are sooooo easy to make and you can create almost anything probably! You don't need a lot of things to make them as well, most are found in your house!
So let us crack on with pompom making...


Honestly, they are sooooo easy to make and you can create almost anything probably! You don't need a lot of things to make them as well, most are found in your house!
So let us crack on with pompom making...
What you will need:
Cardboard [big enough for whatever it is you wish to make, I used a bran flakes cardboard as it was the right size]
Scissors
Glue
Tissue paper [a lot depending on how big you are making and whatever colour[s] you want]
Stapler
A pin [optional, to hang it up]
What to do now:
1. Starting with the cardboard, cut out whatever shape you wish to create. To make it easier, fold the cardboard in half and draw on one side, cut this out so it will be the same.

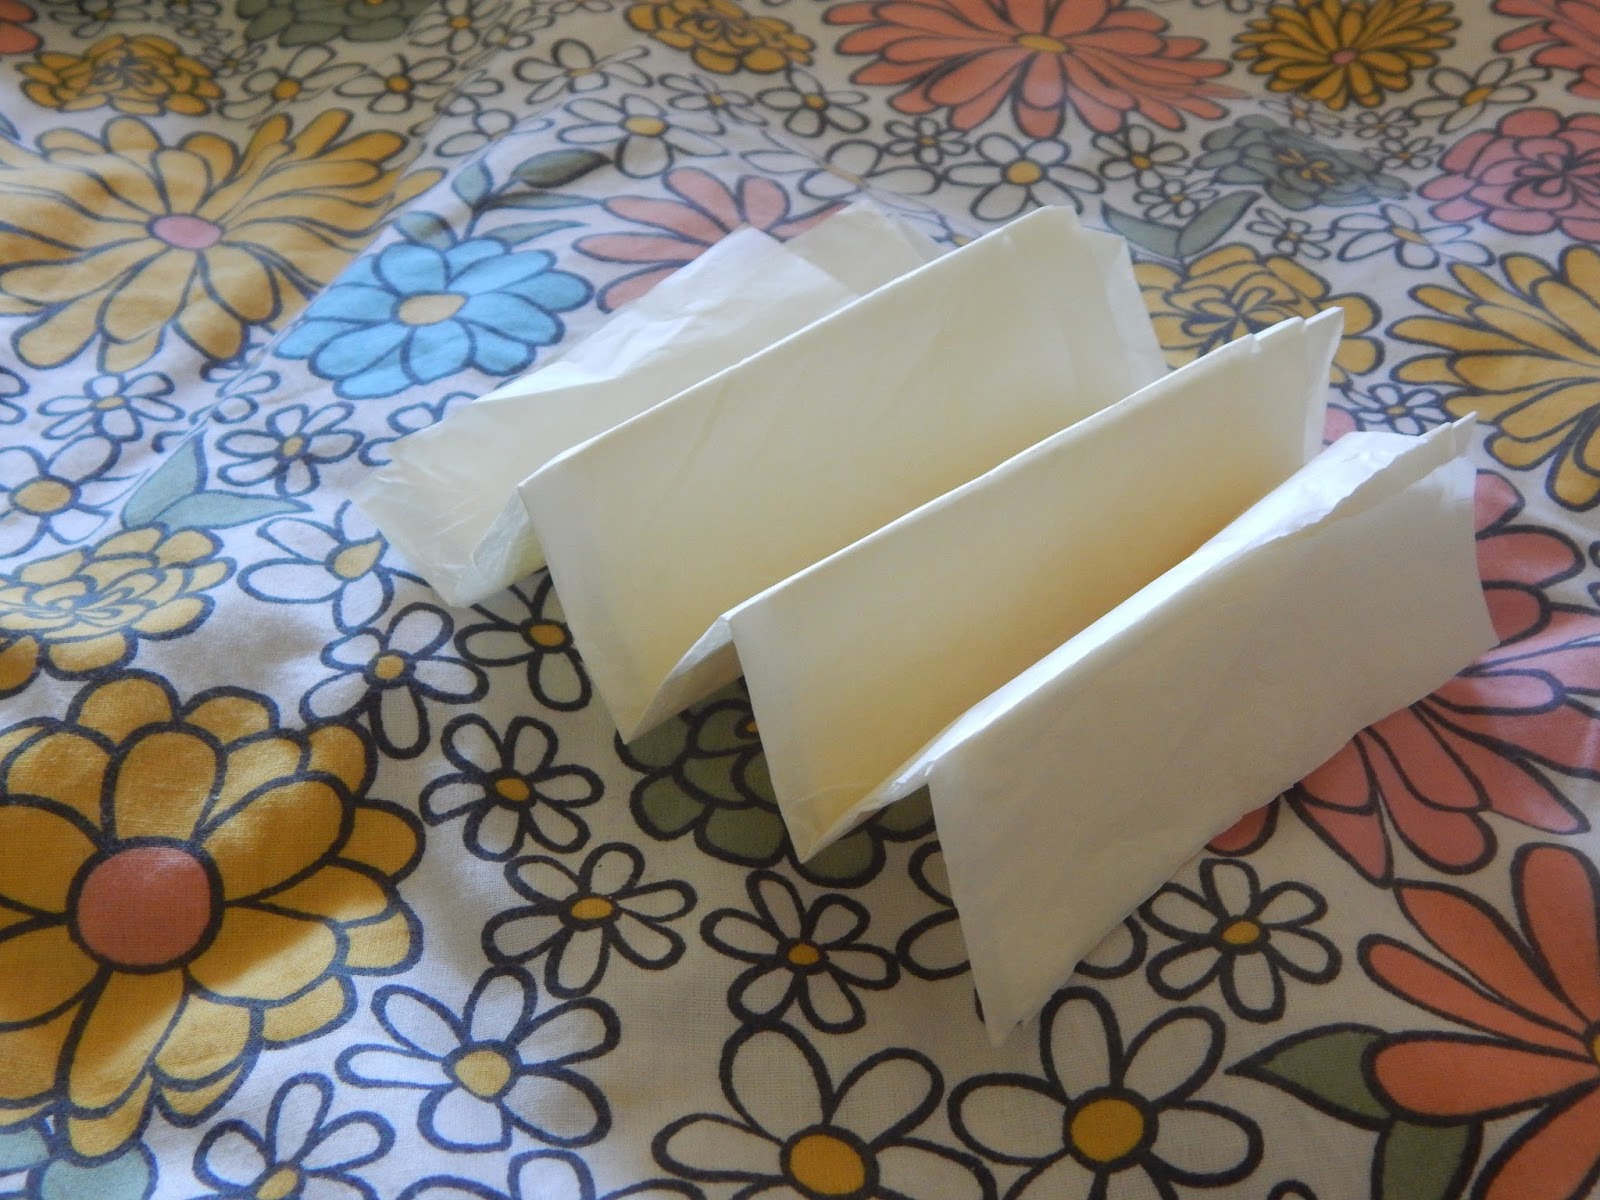
2. Grab a piece of tissue paper, fold it up into a long rectangle. Cut this in half. Using one of the halves, fold the smaller side over, turn it over, fold it and continuing to do so until it comes out as a zig-zag [see photo below because that was terribly explained but it should look like that]
3. Using you stapler, staple in the middle of folded zig zagged tissue paper. After this, take your scissors and cute a semi circle shape at both ends of the paper.

4. Now for the fun and fiddly bit. Open up one side and start opening out the layers of tissue paper. This created the volume and the pompom aspect.
Repeat these steps until you have enough for what you are creating.

5. Arrange the pompoms on your cardboard cut outthen take your glue and stick them on. Easy as that! Obviously let it dry before using it. I hung it up on my wall using a pin but you can lean it on your walls so that is why the pin is optional! And viola, enjoy the funkiness!


I love how simple it is once you get the hang of it. Yeah, they are a bit fiddling, especially when you are pulling the layers out but the end result is so much fun!
Until next time
-------------------------------------
All photographs are my own


I love this diy. I did one for my god-daughter many years ago when she turned 1, and I really enjoyed doing it and it's so easy and fun to make! x
ReplyDeleteYiota
pinkdaisyloves.blogspot.com
Me too, it is so much fun making them! x
Delete