


Nail biting claws
With my favourite day of the year just around the corner, I thought I would continue my little Halloween series on my blog today. First we had a hauntingly dead makeup look and now we have some nail biting claws to show off to our fellow monsters!

I love painting my nails, there is something so relaxing and therapeutic doing them. Due to this and the fact that Halloween is in 2 weeks [anyone else proper buzzing with excitement], here are five easy and simple nail designs for the spooky day.


I love painting my nails, there is something so relaxing and therapeutic doing them. Due to this and the fact that Halloween is in 2 weeks [anyone else proper buzzing with excitement], here are five easy and simple nail designs for the spooky day.
Getting ready to have some nail biting claws...
What you will need:
Nail polish [clear for top and base coat and red, orange, black, green, white and I used purple to add a bit more colour to them but this colour is optional]
A cocktail stick if you struggle creating lines with the nail polish brush but this is optional
What to do now:
1. With the clear nail polish, do a base coat, then paint one orange nail, three black and one red. I painted my thumb nail orange, the three middle black and my pinky red. Leave to dry.
2. Now for the nail design...
SPIDER'S WEB:

Starting with the pinky [going to work our way down], take the purple [or black if you don't want purple] and draw three lines, all joining at the bottom of the nail and spreading apart at the top. This is creating the spiders web. In between the lines, draw small curved lines and the spider's web is done! If you aren't confident using the nail polish brush, use the cocktail stick. If you use the brush, take off as much polish off the brush as you can for finer lines. Leave to dry.
SLIME:

Take the green nail polish and along the top of the nail, draw drips of the green down the nail, creating a runny slimy effect. Leave to dry.
GHOST:

Draw a ghost shape [a rectangle but with a curvy top] with the white nail varnish to create the body of the ghost. Leave that to dry slightly then draw two large-ish ovals for the eyes and a small oval for the ghost's mouth, again if you are using the polish's brush, take off as much as you can so you don't paint over your ghost's body.. Leave to dry.
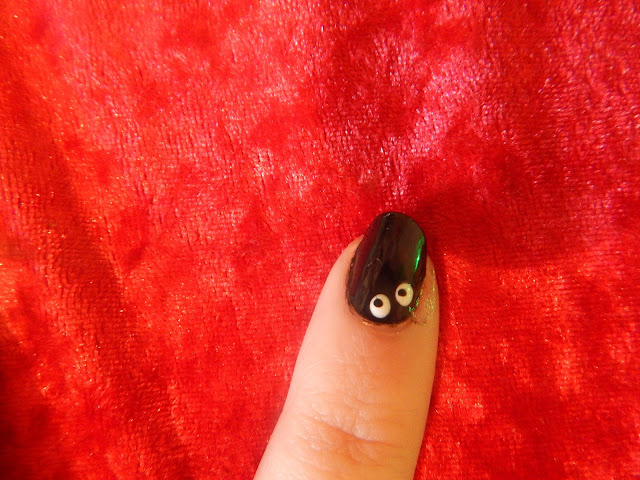
SCARY EYES:

Using the white polish, create two dots, close to each other, for the eyes. Take your black polish, again taking off as much polish as you can from the brush, dot two little dots inside the white to create the eyes. Leave to dry.
PUMPKIN:

Once the orange nail polish has dried on your thumb nail, take either the black or purple nail varnish and draw two small triangular eyes and a smaller triangular nose in the centre of the nail. Use the brush to create a smile then paint two tiny triangles on the top of the smile and
three one the bottom. Leave to dry.
7. Once the five designs have all dried, finish with a top coat and voila, they are done!
Take a look at these spooky claws...


Well there you have it, some nail biting claws for the big day!
Until next time
-------------------------------------
All photographs are my own

Comments
Post a Comment